

 See My Latest Article on HelloNation
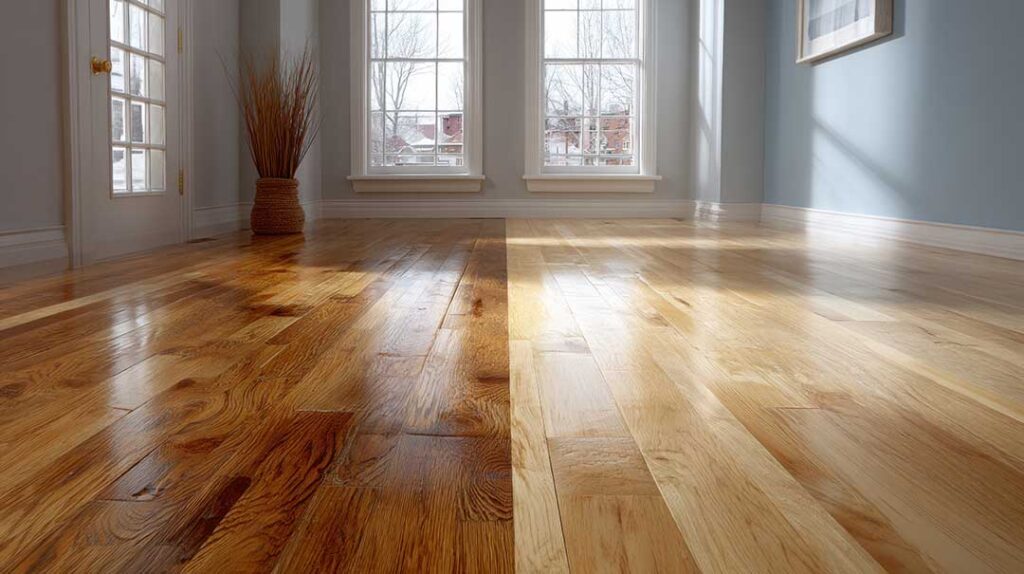
Hardwood scratches are common in area homes, especially where grit, pet nails, furniture legs, and frequent foot traffic wear against the finish. The right repair depends on whether the mark affects only the protective coating or reaches into the wood itself.
A light surface scuff may need only cleaning and a new layer of finish. A deeper scratch may require color touch-up, wood filler, sanding, or replacement of a damaged board. Identifying the scratch correctly prevents an unnecessary repair from making the floor look worse.
How can you tell how serious a hardwood scratch is?
The simplest test is to clean the area gently and inspect it in good light. If the mark becomes difficult to see when the floor is damp but reappears after drying, the wood may be exposed beneath the finish.
Scratches generally fall into three categories:
- Surface scuffs: White, gray, or dull marks that remain in the finish and do not change the wood’s color.
- Finish-deep scratches: Lines that cut through the protective coating but do not deeply gouge the wood.
- Deep gouges: Indentations or missing material that expose bare wood and may have rough or raised edges.
Run a clean fingertip lightly across the mark. If it catches noticeably, the damage is more than a surface scuff. Avoid dragging a fingernail forcefully across the floor, since that can create a new mark.
What should you do before repairing the scratch?
Clean the floor first, because dust and grit can make a small scratch appear deeper than it is. Use a soft broom, vacuum attachment designed for hard floors, or dry microfiber cloth. Follow with a slightly damp cloth if the flooring manufacturer allows damp cleaning.
Do not soak the area. Excess water can seep between boards, swell unfinished edges, and leave cloudy areas in some finishes. Homes in Lexington, SC may experience humid summers and damp periods, so controlling moisture is especially useful for hardwood maintenance.
Before applying any repair material, identify the floor’s finish if possible. Common finishes include:
- Water-based or oil-based polyurethane
- Penetrating oil finishes
- Wax finishes
- Factory-applied finishes on prefinished flooring
A repair product made for one finish may not blend correctly with another. Test any cleaner, marker, filler, or finish in an inconspicuous area first.
How do you repair very light scratches and scuff marks?
Very light marks can often be reduced without sanding. After cleaning, buff the area gently with a dry microfiber cloth. Some scuffs caused by rubber soles or furniture movement will fade with this step alone.
For a mark that remains visible, use a small amount of hardwood floor cleaner made for the existing finish. Apply it to the cloth rather than pouring it directly onto the floor. Rub with the grain, using light pressure, and remove any residue afterward.
Avoid household shortcuts such as toothpaste, baking soda, steel wool, or abrasive kitchen sponges. These materials can dull the surrounding finish and create a larger patch of visible damage.
If the floor has a wax finish, a compatible paste wax may disguise a shallow scratch. Wax should not be applied over polyurethane unless the flooring manufacturer specifically allows it, because it can interfere with future recoating.
How do you repair a scratch that reaches the wood?
A scratch that exposes the wood usually needs color restoration before the protective coating is repaired. For a small mark, a matching hardwood touch-up marker or blend stick may be enough.
Choose the color carefully. Hardwood flooring often contains multiple tones, so an exact single-color match may not be possible. Apply a small amount to the scratch, wipe away excess from the surrounding finish, and let it dry before adding more.
For a narrow scratch:
1. Clean and dry the area.
2. Apply color sparingly inside the damaged line.
3. Wipe the edges with a clean cloth.
4. Allow the color to dry fully.
5. Add a compatible clear finish if the product instructions require it.
The repair should remain slightly less noticeable rather than creating a dark, shiny stripe. Too much color is difficult to remove without additional work.
How should a deep gouge be repaired?
A deep gouge may need wood filler or replacement of the damaged board. Wood filler is appropriate when the damaged area is small, stable, and not missing a large section of flooring.
Use filler that can be colored to match the floor. Press it into the gouge, leave the surface slightly proud of the surrounding wood, and allow it to cure according to the product directions. Once hard, carefully smooth it with fine sandpaper, working in the direction of the grain.
Sanding should be limited to the damaged area whenever possible. Aggressive sanding can create a shallow depression, remove the surrounding finish, or expose a noticeably lighter section of wood.
After smoothing, apply a matching stain or touch-up color, then protect the repair with a compatible finish. The sheen matters as much as the color. A glossy repair on a satin floor can remain visible even if the color is accurate.
When is sanding the whole area necessary?
Localized screening or recoating may be appropriate when many scratches affect the finish but the boards are not deeply damaged. This process lightly abrades the existing coating so a new compatible finish can bond to it.
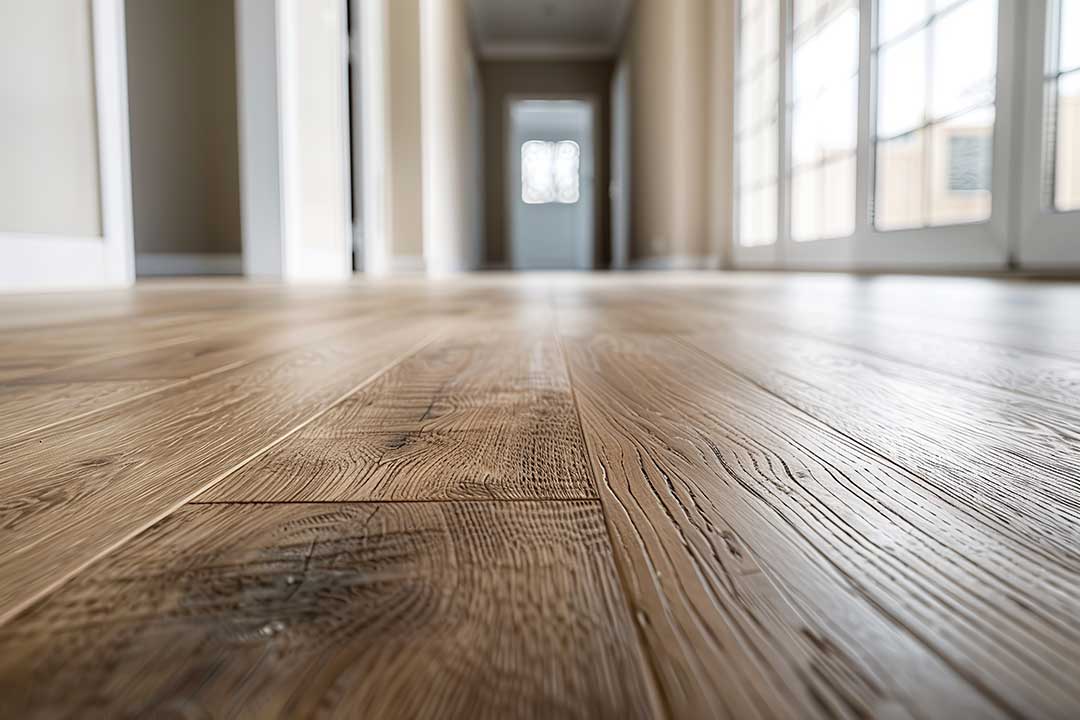
A full sanding is more extensive. It removes part of the finish and a thin layer of wood to address widespread wear, deep scratches, stains, or uneven coloration. It is not the right first step for one isolated mark.
Engineered hardwood requires additional caution because its top wood layer is thinner than solid hardwood. Repeated or deep sanding can remove too much of that layer. The flooring’s construction should be confirmed before using power sanders.
Can scratches be repaired without refinishing the entire floor?
Yes, but the result depends on the damage and the floor’s age. Spot repairs work best when the scratch is small and the surrounding finish is still in good condition.
A patch may remain visible because hardwood changes color over time from sunlight, cleaning, and normal wear. Even a well-matched stain can look different from the older wood around it. For this reason, a small repair should be blended gradually rather than built up with a heavy application.
If scratches cover broad walkways, appear throughout several rooms, or are accompanied by dull finish and discoloration, isolated touch-ups may produce an uneven appearance. In that situation, refinishing the affected area or floor may provide a more consistent result.
What mistakes make hardwood scratches worse?
Several common approaches increase damage:
- Using excess water or steam on the floor
- Scrubbing across the grain with an abrasive pad
- Applying furniture polish that leaves a slippery or oily film
- Using permanent markers without testing the color
- Sanding through the finish around the scratch
- Applying a new coating over wax, silicone, or residue
- Moving heavy furniture without lifting or using protective pads
Pet nails, tracked-in sand, and grit near exterior doors are frequent sources of repeated scratching. Felt pads under furniture legs and washable entry mats can reduce new damage, but mats should have flooring-safe backings that do not trap moisture or transfer color.
When should a damaged board be replaced?
Board replacement is generally considered when the wood is split, swollen, badly gouged, loose, or damaged by moisture. Replacement may also be more practical when a board has several overlapping repairs.
The challenge is matching the new board to older flooring. Even flooring from the same production run may differ after years of sunlight and wear. A replacement board may need careful color adjustment and finishing to blend with the surrounding area.
Water-related damage deserves special attention. If a scratch is near a leak, exterior door, appliance, or area with recurring dampness, repair the moisture source before filling or refinishing the wood. Otherwise, the damage may return beneath the new finish.
How can residents prevent future scratches?
Prevention is easier than repeated touch-up work. Keep entry areas free of loose grit, trim pet nails regularly, and lift furniture instead of sliding it. Use floor-safe protective pads and replace them when they collect dirt.
Maintain indoor humidity at a relatively stable level, since major seasonal changes can contribute to gaps, movement, and finish stress. Clean spills promptly and use cleaning products intended for the specific hardwood finish.
For most floors, the best repair is the least aggressive one that restores appearance without removing sound finish or wood. Careful inspection, restrained application, and compatibility with the existing finish matter more than using a large number of products.